
THE EVOLVE EDTECH BLOG
Welcome to The Evolve EdTech Blog.
Here you will find a range of blog entries from the team at Evolve EdTech exploring a range of tips, tricks and tools that you can use to help you incorporate educational technology into your classroom.

Creating Google Slides Worksheets: Innovative EdTech Key Takeaways
In our recent 'Innovative EdTech' workshop, we delved into the versatile world of Google Slides, exploring how this powerful tool can be used to create engaging student learning worksheets. If you missed the session, don't worry! Here are the top 5 tips and tricks from the workshop to help you get started on transforming Google Slides into an interactive learning resource.
1. Changing Slide Size for Printable Worksheets
One of the first steps to creating an effective worksheet is adjusting the slide size to match standard paper dimensions. Here's how you can do it:
Navigate to File > Page Setup > Custom.
Set the dimensions to your desired paper size (e.g., 21 cm x 29.7 cm for A4 paper). This customization ensures that your worksheets are print-ready, making them accessible both digitally and physically.
2. Utilizing the Theme Builder for Consistency
The Theme Builder in Google Slides is a game-changer for maintaining consistency across your worksheets. It allows you to set default fonts, colours, and other design elements.
Go to View > Theme Builder.
Customize fonts, colours, and layout designs to fit your worksheet’s theme. By setting these defaults, every new slide will automatically adopt the established style, saving you time and ensuring a professional look.
3. Creating Interactive Elements with Linked Pages
Transform your Google Slides into a dynamic workbook by linking pages within the document. This is especially useful for extensive workbooks or multi-page assignments.
Create a table of contents with links to specific slides:
Highlight the text or object you want to link.
Click on the Insert Link icon and select 'Slides in this presentation'.
Choose the slide you want to link to. Students can navigate directly to specific sections, enhancing their user experience and saving valuable classroom time.
4. Embedding Multimedia for Enhanced Learning
Google Slides allows you to embed videos, audio clips, and even GIFs to make your worksheets more engaging and interactive.
Insert a YouTube video: Go to Insert > Video and search for your desired video.
Add audio clips: Insert > Audio and select an audio file from your Google Drive.
Include GIFs: Insert > Image > Search the web and look for GIFs or stickers. Integrating multimedia elements can cater to different learning styles and keep students engaged with the material.
5. Using the Gray Space for Interactive Activities
The grey space around your slide is valuable real estate for creating interactive activities. You can place manipulatives, images, or additional instructions that students can drag and drop onto the slide.
Add images or shapes in the grey space: Insert > Image/Shape.
Students can then drag these elements into the main slide area to complete tasks. This method is perfect for creating activities like sorting exercises, matching games, or interactive math problems.
Google Slides is more than just a presentation tool; it's a versatile platform for creating interactive, engaging, and printable learning materials. By applying these tips and tricks, you can elevate your worksheets and provide your students with a more dynamic learning experience.
If you would like to learn more about these tips, and many others watch the July episode of 'Innovative EdTech' now:
If you found these tips helpful, be sure to join us for our next workshop, where we'll explore the power of Wakelet and how you can use it in your classroom. And while you are at it, don't forget to catch up with the previous episodes of 'Innovative EdTech' by exploring the 'Innovative EdTech' playlist on our YouTube channel or watch below:
It would also be really helpful if you liked our videos and subscribed to the Evolve EdTech YouTube channel to help promote our videos and resources to other educators throughout the world.

LEARN
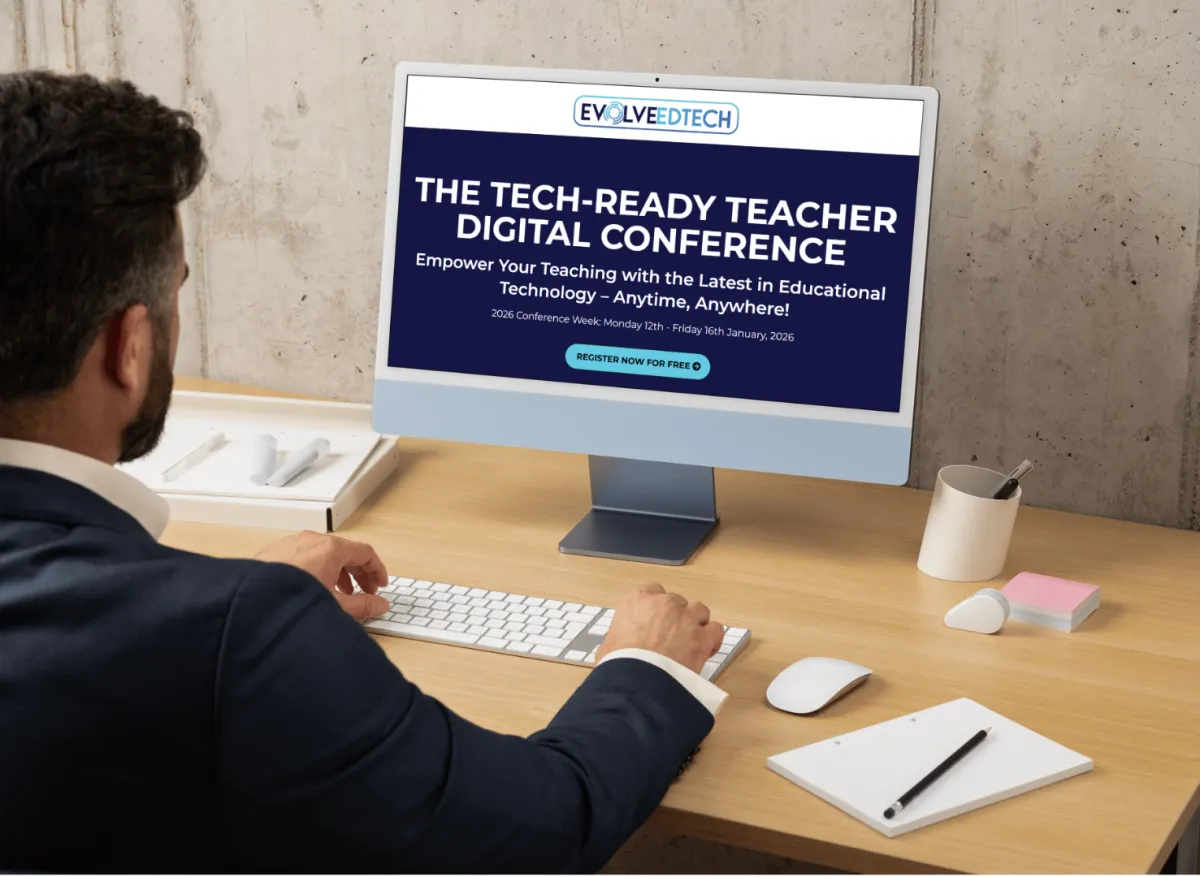
Looking for FREE on-demand professional learning all year round?
Join the team from Evolve EdTech and access on-demand sessions from The Tech-Ready Teacher Digital Conference. Each January, the conference is updated with brand new sessions to help you become a master of edtech in the classroom.

CONNECT WITH US
ABOUT EVOLVE EDTECH
CONTACT EVOLVE EDTECH
TERMS & CONDITIONS
At Evolve EdTech we acknowledge the Traditional Owners of country throughout Australia and recognise their continuing connection to land, waters and culture. We pay our respects to their Elders past, present and emerging. Always was, always will be Aboriginal Land.
Copyright 2025. Evolve EdTech. All Rights Reserved.