THE EVOLVE EDTECH BLOG
Welcome to The Evolve EdTech Blog.
Here you will find a range of blog entries from the team at Evolve EdTech exploring a range of tips, tricks and tools that you can use to help you incorporate educational technology into your classroom.

Getting Started with Canva – 10 Simple Tips for Educators
Getting Started with Canva – 10 Simple Tips for Educators
12 Tech Tips of Christmas 2025 – Evolve EdTech
Well, hello everybody and welcome to Day Two of the 12 Tech Tips of Christmas for 2025 with Evolve EdTech.
If we haven’t met before, my name is Tristan Herron. I’m the Future-Ready Teaching Specialist here at Evolve EdTech, and your host for this festive season of EdTech goodness, otherwise known as the 12 Tech Tips of Christmas.
Today, we’re diving into a tool I absolutely love — and one that I genuinely believe every educator should be using: Canva.
If you’ve opened Canva before, felt a bit overwhelmed and quietly closed the tab… this one’s for you.
What Is Canva (and Why Should Teachers Care)?
Canva is an easy-to-use online design platform that helps educators create eye-catching, professional-looking resources in minutes.
With Canva, you can design:
Worksheets
Slide decks and presentations
Certificates and awards
Class posters and displays
Social media posts for your school
Videos and interactive learning tasks
For many teachers, Canva replaces multiple tools. Instead of hopping between four different programs, you can do almost everything in one place. That’s a big win for your time, energy and sanity.
Canva for Education: Don’t Forget the Free Upgrade
Here’s one of my favourite parts.
As a business, Evolve EdTech pays for Canva Pro because it’s part of our brand and workflow. But as a classroom teacher, you can access Canva for Education — which gives you access to almost everything I pay for — for free.
With Canva for Education, you get:
Premium templates
Pro elements, graphics and images
Classroom-friendly collaboration features
The ability to share designs with students safely
If you haven’t already:
Head to Google and search “Canva for Education”
Check your eligibility
See if your school, system or district already has access
It’s one of those small wins that can make a big difference to your workload.
10 Simple Canva Tips for Educators New to the Platform
Today’s focus is on helping beginner Canva users feel confident. If you’ve never used Canva or only tinkered with it briefly, these tips are for you.
1. Start with Templates
You don’t have to design from scratch.
Click Templates on the Canva homepage
Use the search bar and type things like:
“Classroom rules”
“Lesson plan”
“Newsletter”
Choose a design you like and click Customise this template
From there, simply swap out:
Text
Colours
Images
Icons
Templates save you a truckload of time and remove that “blank page panic”.
2. Set Up a Simple Brand Kit
Even if you’re “just” using Canva for your own classroom, a basic brand kit helps everything feel cohesive.
Head to Brand on the left-hand menu and you can:
Add your school logo
Choose a simple colour palette (e.g. your school colours)
Set default fonts for headings and body text
Then, whenever you create something new, you can stick to:
The same fonts
The same colours
The same overall look
It’s brilliant for:
Consistent classroom slides
Faculty documents
Parent communication templates
3. Use Drag-and-Drop Elements
Canva’s design tools are built around drag and drop.
From the Elements tab, you can quickly add:
Shapes
Icons
Illustrations
Photos
Lines
Stickers
Videos and backgrounds
Just click an element to add it to the page, then drag it where you want it. Resize by dragging the corners. It’s simple and intuitive — and perfect if you’re not a “designer”.
4. Align, Arrange and Tidy Like a Pro
Want your designs to look polished, not messy?
Canva makes alignment easy:
Use the purple guide lines to centre objects
Select an element and use Position to:
Centre items horizontally or vertically
Space things evenly
Move elements forward or backward in layers
This is especially handy when building:
Title slides
Information posters
Step-by-step instructions
A few clicks can turn “thrown together” into “professional”.
5. Use the Search Bar and Keywords
Don’t scroll endlessly through icons and images.
Use the search bar in Elements and Designs:
Type in what you need, e.g.
“Australia”
“Laptop”
“Science”
“Classroom”
Click Graphics or Photos to narrow things down
Good keyword searching saves time and helps you find exactly what you’re after for your subject, topic or theme.
6. Group Elements That Belong Together
If you’ve ever nudged one box out of place and messed up an entire layout, grouping will be your new best friend.
To group items:
Click and drag to select multiple elements
Click Group
Now they move, resize and rotate as one unit. This is perfect for:
Logos made from multiple shapes
Reusable headings
Label + icon combinations
You can always Ungroup later if you need to adjust something.
7. Lock the Bits You Don’t Want to Move
Accidentally dragging your background graphic around is… not fun.
To avoid that:
Select the background or element you want fixed
Click the Lock icon
Now it stays in place while you move everything else. This is especially useful when:
Designing worksheets
Building templates for repeated use
Sharing designs with students so they only edit certain parts
8. Use the Colour Picker for Consistency
If you want everything to match — your logo, your banner, your text boxes — the colour picker is the way to go.
You can:
Click on a shape or text
Open the Colour menu
Use the Eyedropper to pick a colour from:
A logo
An image
A background
This keeps your resources visually consistent and intentional, rather than a rainbow of random choices.
9. Explore Tables, Frames and Layouts
For more structured content, try:
Tables – great for lesson plans, behaviour charts, checklists
Frames – let you drop images into specific shapes (perfect for student photos or visual examples)
Layouts – pre-designed slide or page structures you can tweak
These tools help keep information organised and easy for students to follow.
10. Download the Right File Type
Once you’ve created something you’re proud of, you’ll want to share or print it.
Click Share → Download and choose:
PDF (Print) – best for worksheets and handouts
PNG or JPEG – best for images, posters or slides you want as pictures
MP4 – for videos
PowerPoint – if you’d like to present via PowerPoint instead
You can also:
Download all pages or
Select specific pages only
This is handy if you only need a single slide or worksheet out of a larger design.
Final Thoughts: You Don’t Need to Be a Designer
Canva is not about perfection. It’s about:
Communicating clearly
Presenting information in engaging ways
Saving yourself time
Giving students modern, visual learning experiences
You can start with just one template, one poster, or one slide deck. Over time, you’ll develop your own style and confidence. Before long, your students will probably be asking, “Sir/Miss, did you make that in Canva?”
(And yes, that’s a very real teacher joy.)
Join Us for More Tech Tips of Christmas
That’s Day Two of the 12 Tech Tips of Christmas for 2025 done and dusted!
If you’d like to:
See these tips demonstrated step-by-step
Watch how I use Canva live inside the Evolve EdTech account
Revisit the walkthrough while you try things yourself
Head over to the Evolve EdTech YouTube channel and:
Subscribe to the channel
Give the video a thumbs up so more educators can find it
We’re building a community of tech-ready teachers who want to prepare young people for a rapidly changing, technology-rich world — and you’re very welcome in that community.
Join us again tomorrow for Day Three of the 12 Tech Tips of Christmas.

LEARN
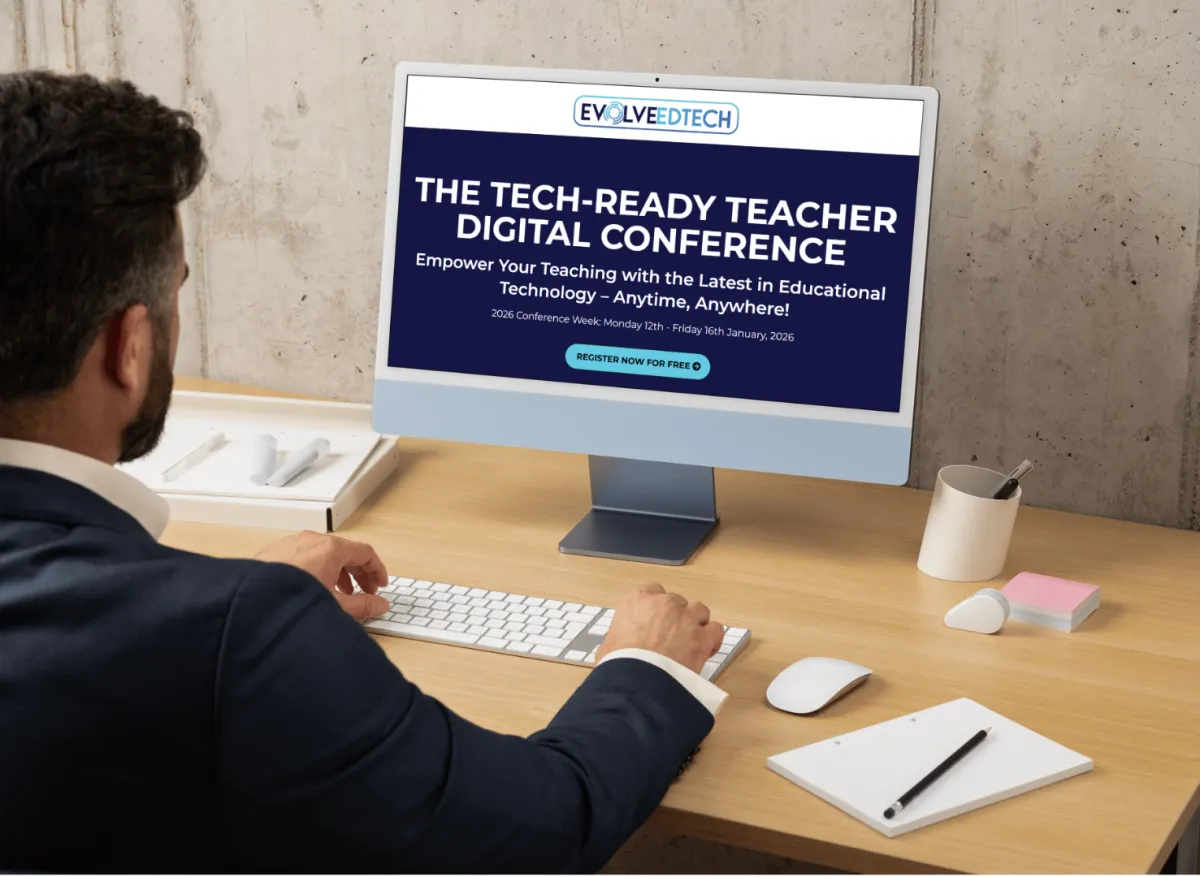
Looking for FREE on-demand professional learning all year round?
Join the team from Evolve EdTech and access on-demand sessions from The Tech-Ready Teacher Digital Conference. Each January, the conference is updated with brand new sessions to help you become a master of edtech in the classroom.
CONNECT WITH US
ABOUT EVOLVE EDTECH
CONTACT EVOLVE EDTECH
TERMS & CONDITIONS
At Evolve EdTech we acknowledge the Traditional Owners of country throughout Australia and recognise their continuing connection to land, waters and culture. We pay our respects to their Elders past, present and emerging. Always was, always will be Aboriginal Land.
Copyright 2025. Evolve EdTech. All Rights Reserved.